
Pinned
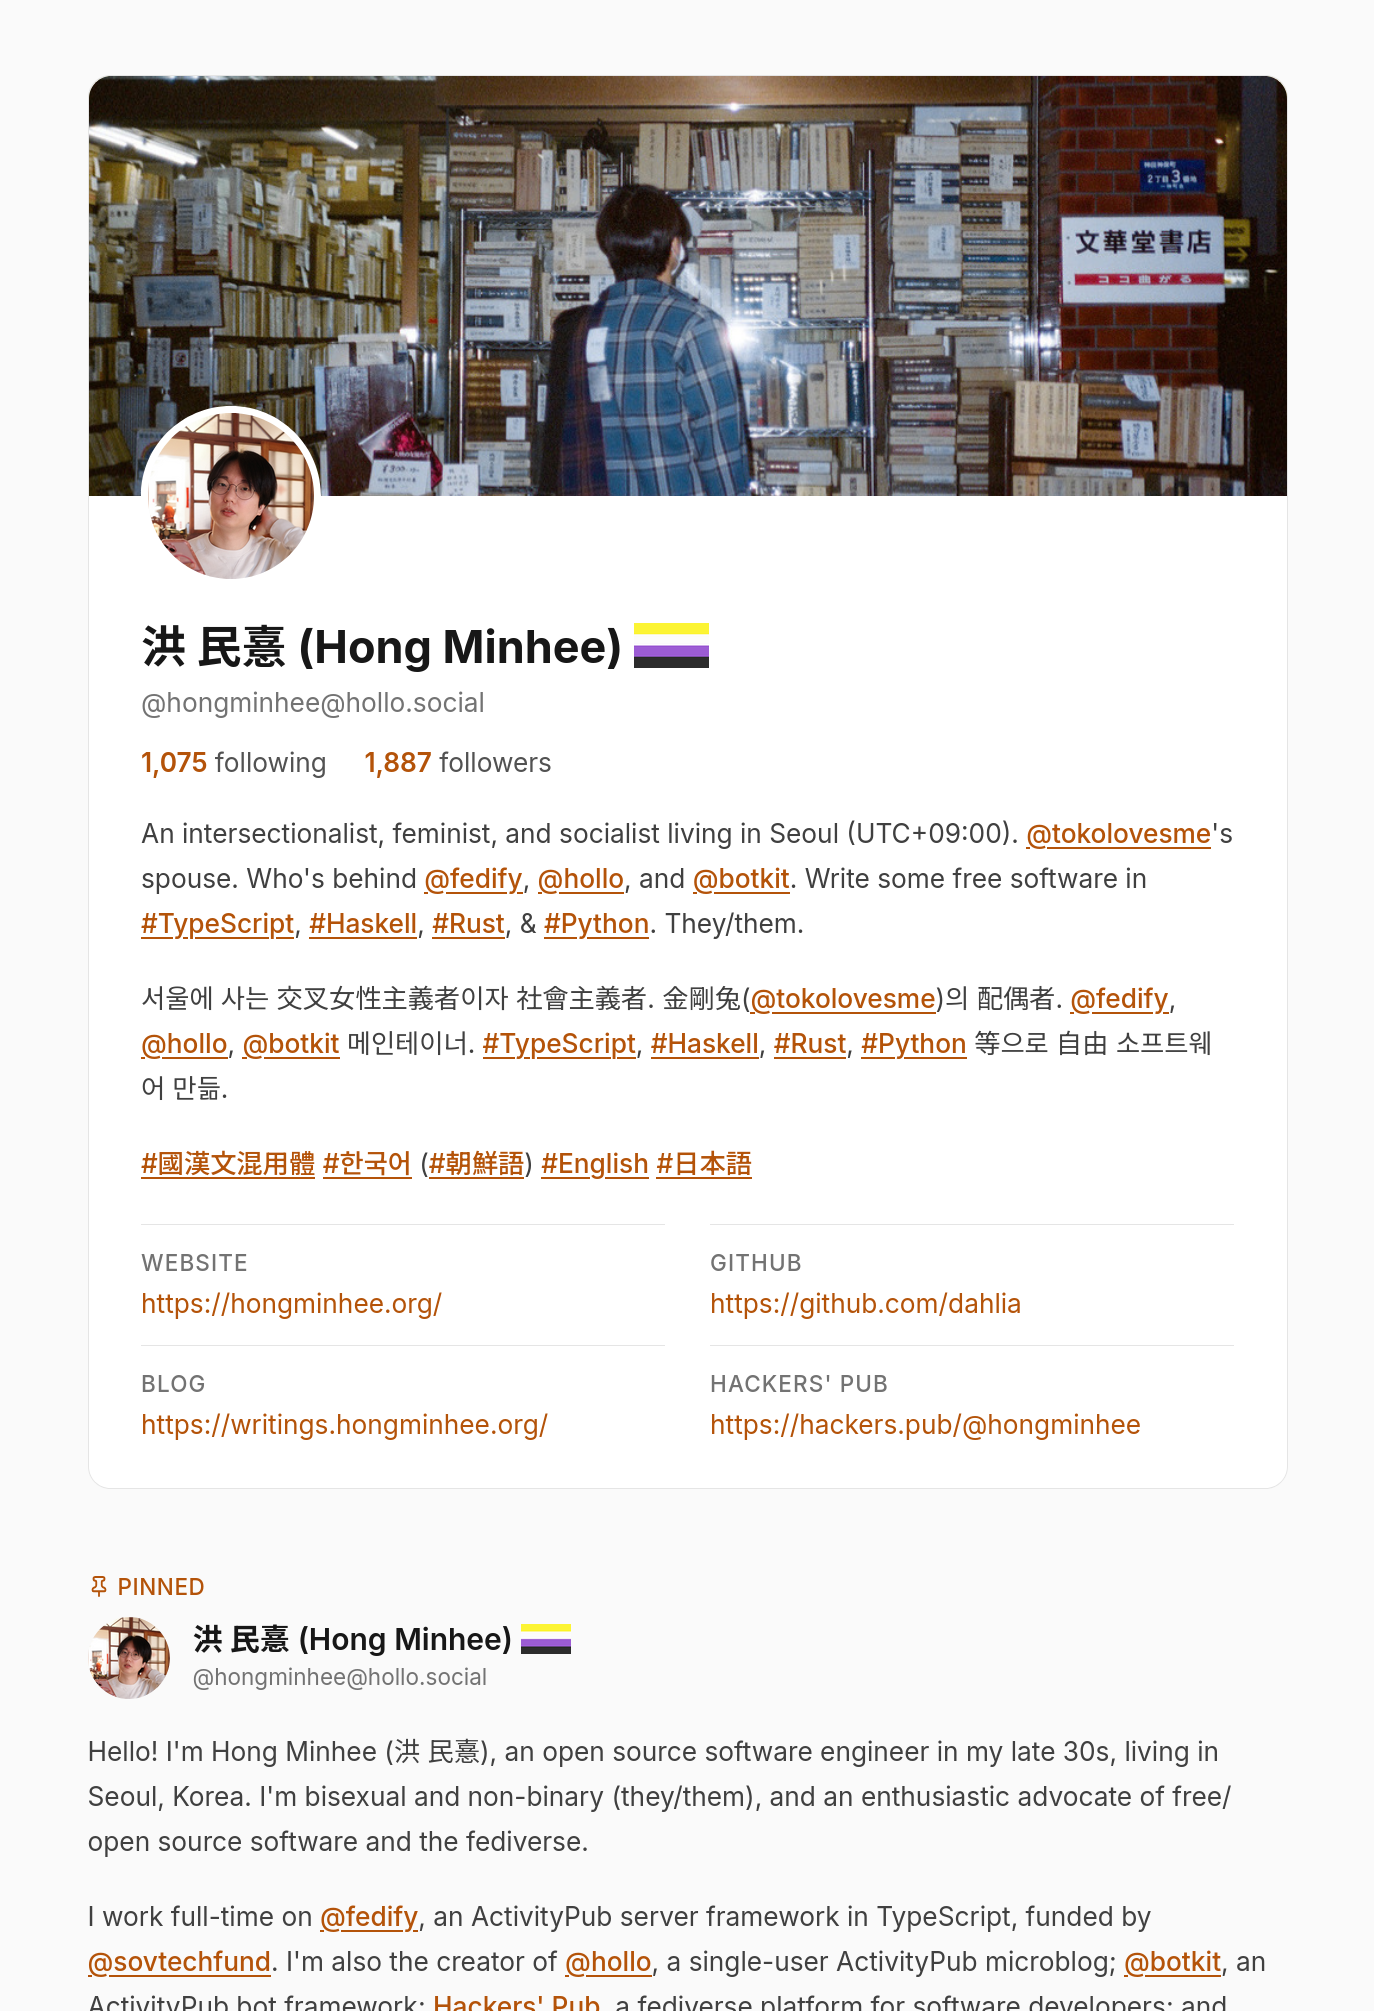
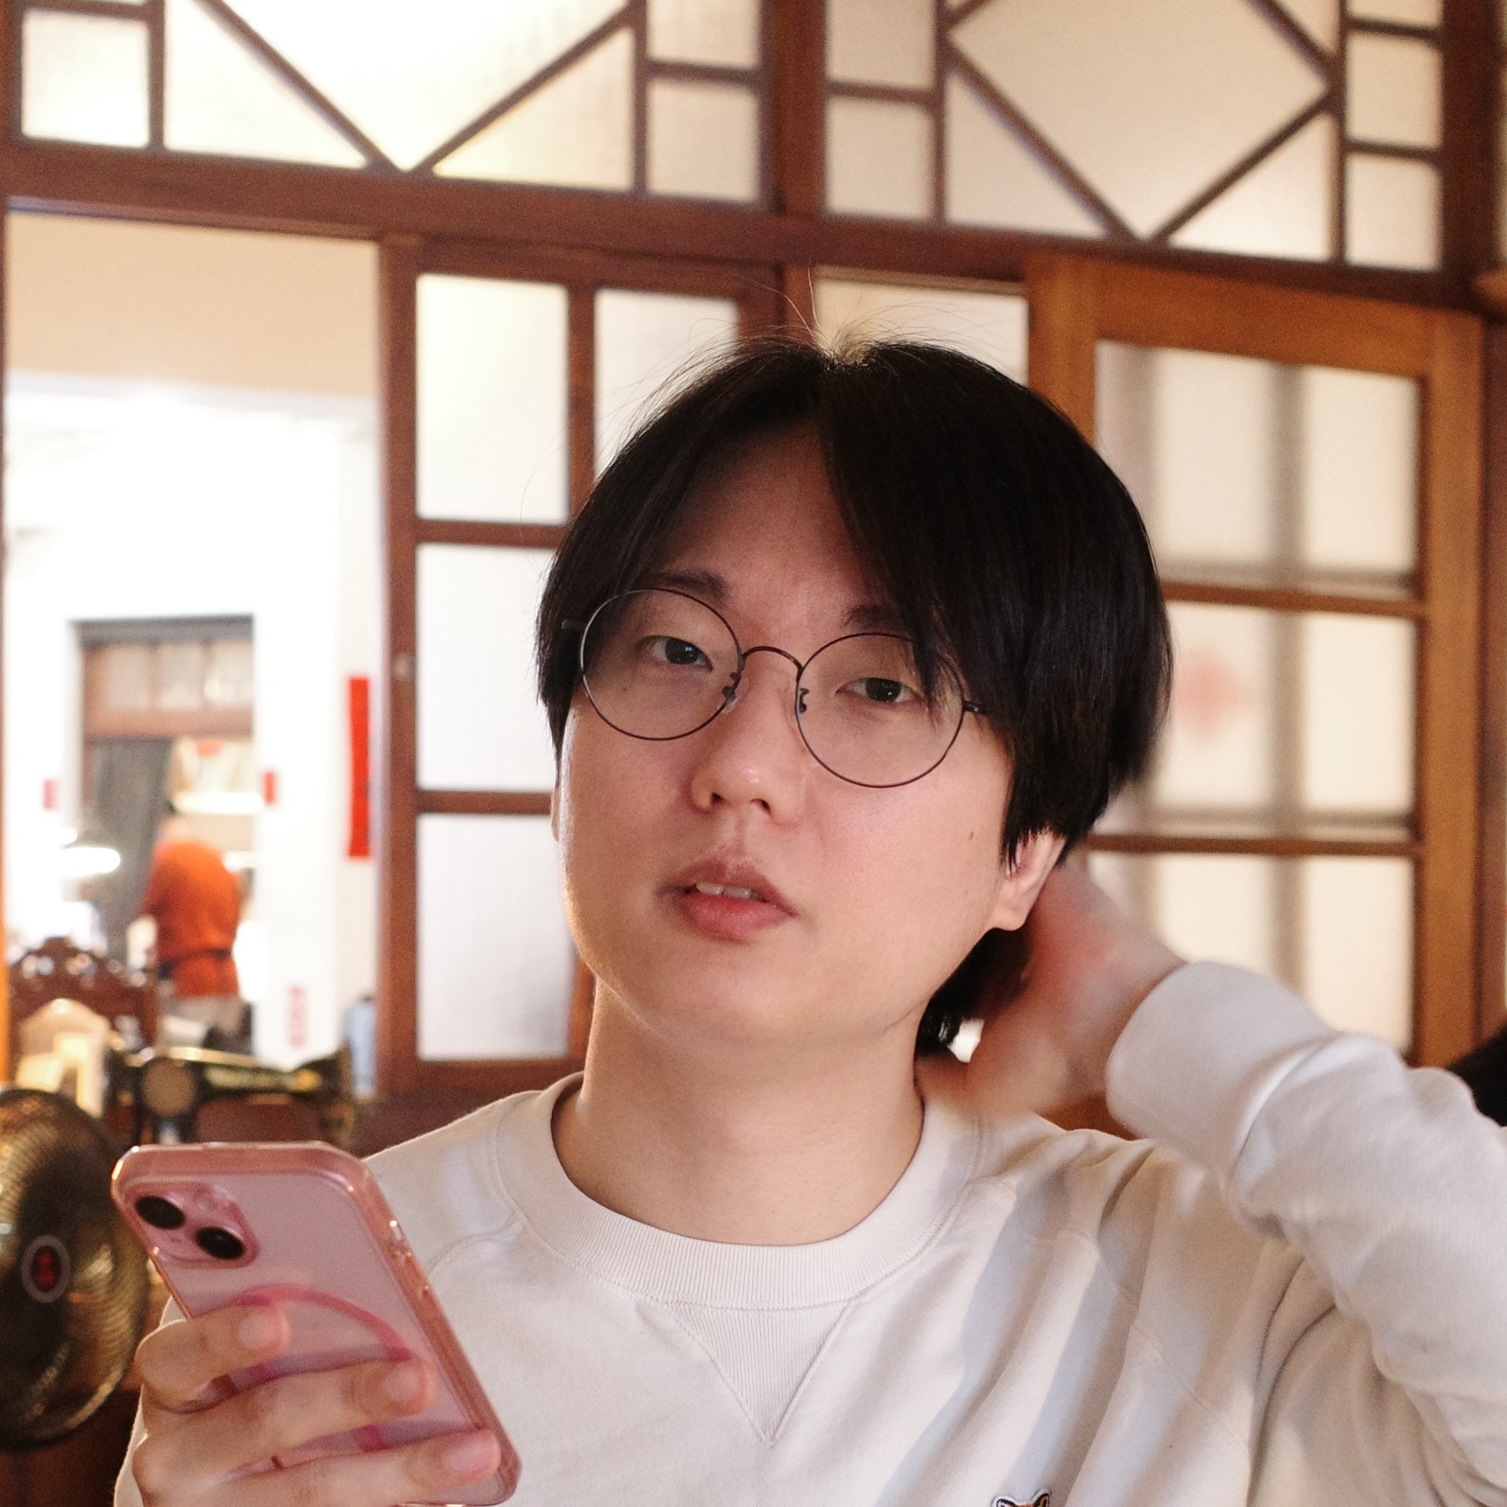
Hello! I'm Hong Minhee (洪 民憙), an open source software engineer in my late 30s, living in Seoul, Korea. I'm bisexual and non-binary (they/them), and an enthusiastic advocate of free/open source software and the fediverse.
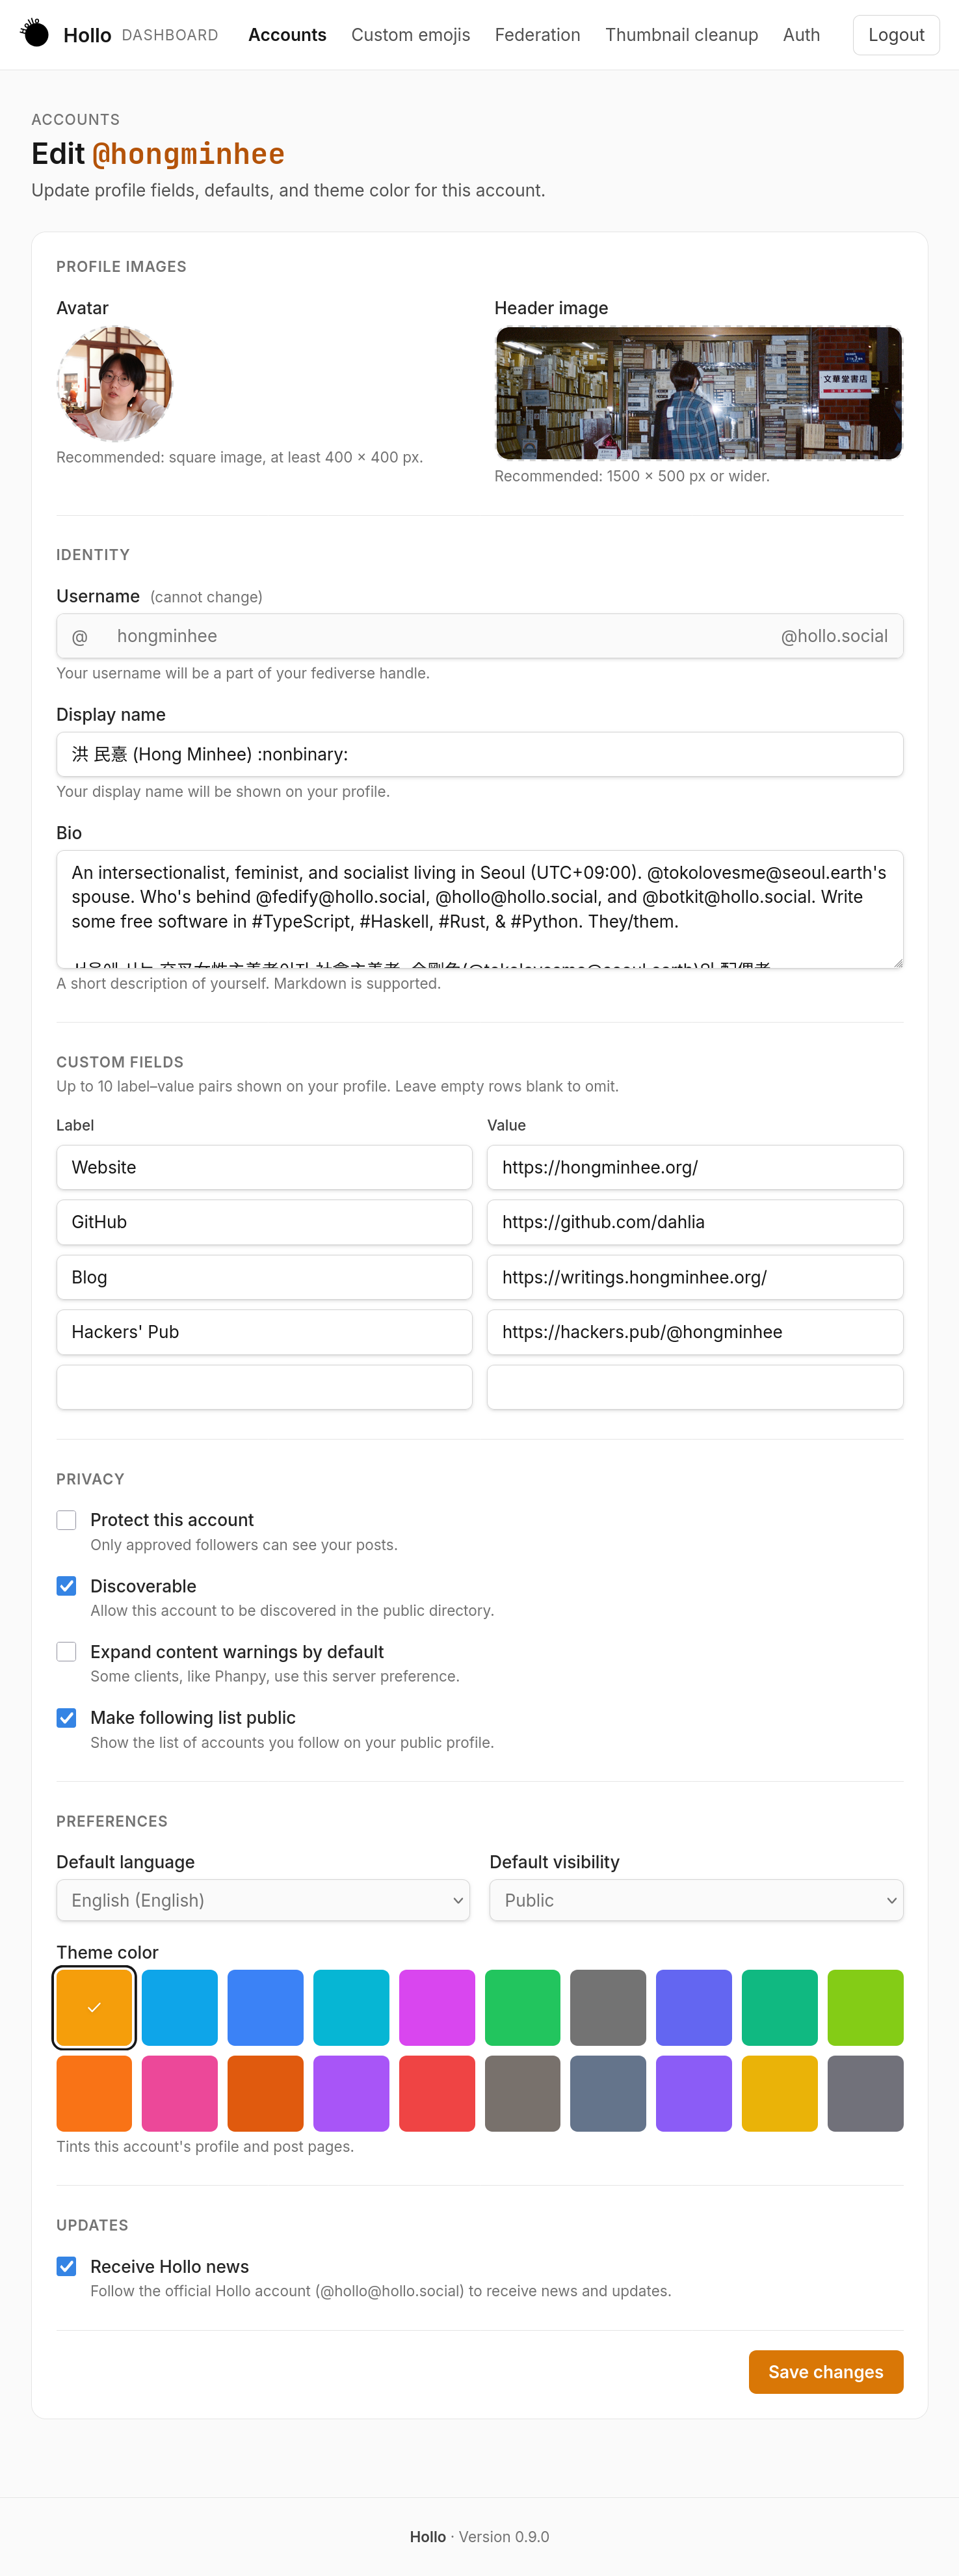
I work full-time on @fedify, an ActivityPub server framework in TypeScript, funded by @sovtechfund. I'm also the creator of @hollo, a single-user ActivityPub microblog; @botkit, an ActivityPub bot framework; Hackers' Pub, a fediverse platform for software developers; and LogTape, a logging library for JavaScript and TypeScript.
I have a long interest in East Asian languages (CJK) and Unicode. I post mostly in English here, though occasionally in Japanese or in mixed-script Korean (國漢文混用體), a traditional writing style that interleaves Chinese characters with the native Korean alphabet. Wanting to write in that style was actually one of the reasons I joined the fediverse. Feel free to talk to me in English, Korean, Japanese, or even Literary Chinese!
en.wikipedia.org